Introduction
Ubuntu 20.04 (codenamed Focal Fossa) was released on April 23, 2020. It’s a Long-Term Support (LTS) release, meaning that it will receive support and updates until April 2025.
This guide will help you install a fresh copy of Ubuntu 20.04 LTS on your computer.
1- What you’ll need
- A laptop or PC (obviously!) with at least 25GB of storage space.
- A flash drive (8GB as a minimum, 12GB or above recommended).
- 2 GHz dual-core processor
- 4GB memory
Whilst Ubuntu works on a wide range of devices, it is recommended that you use a device listed on the Ubuntu certified hardware page. These devices have been tested and confirmed to work well with Ubuntu.
If you are installing Ubuntu on a PC or laptop you have used previously, it is always recommended to back up your data prior to installation.
Step 1: Download the Installation Media
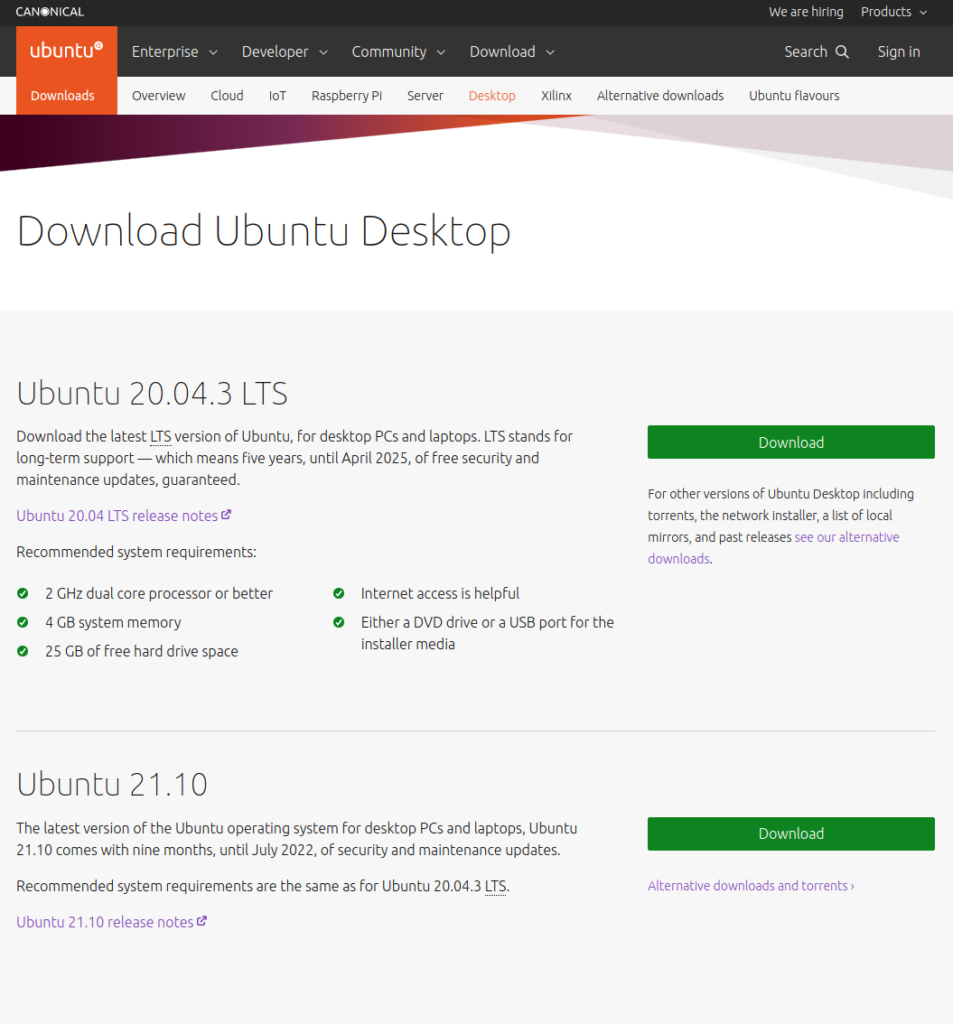
1. In a web browser, visit the Ubuntu download page and pick the Ubuntu version suitable for your machine. The most popular versions include:
2. Once you find the version you need, click the green Download button. You’ll be taken to a thank-you page, and your download should start. (We will download and install Ubuntu 20.04 for desktops.)
3. Save the file to a location of your choice.
Note: If you’re installing to a virtual machine (like VirtualBox), you can mount the .iso image directly.
3. Create a Bootable USB stick
To install Ubuntu Desktop, you need to write your downloaded ISO to a USB stick to create the installation media. This is not the same as copying the ISO, and requires some bespoke software.
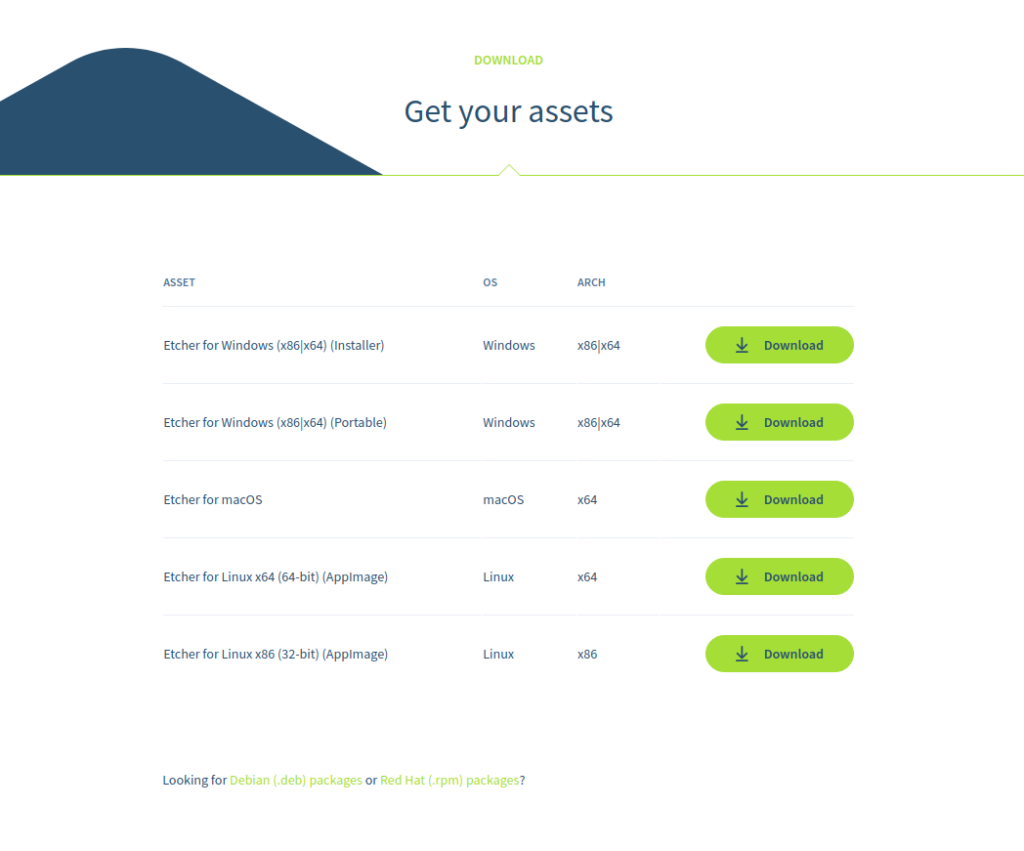
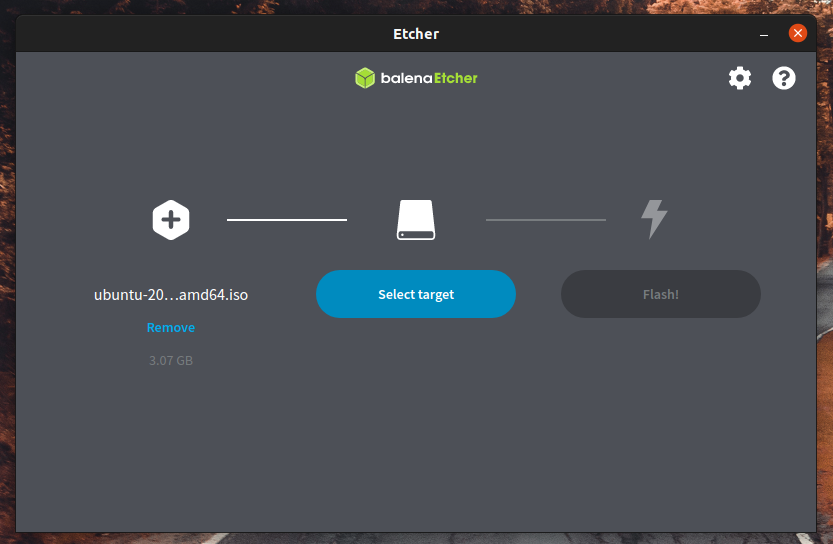
For this tutorial, we’ll use balenaEtcher, as it runs on Linux, Windows and Mac OS. Choose the version that corresponds to your current operating system, download and install the tool.
If you prefer to use a different tool to create your USB, we also have tutorials for Rufus on Windows, Etcher on Mac OS and Startup Disk Creator on Ubuntu.
Select your downloaded ISO, choose your USB flash drive, and then click Flash! to install your image.
Installing Ubuntu from a DVD
It’s also possible to install Ubuntu from a DVD instead of USB. Follow these guides to burn an Ubuntu installation DVD on Windows, MacOS or Ubuntu, then select the CD drive instead of USB device on the boot options screen in the following step.
4. Boot from USB flash drive
1. Turn off your system. Make sure you remove all other USB devices, such as printers, memory cards, etc.
2. Insert the Ubuntu USB drive into the system and turn on your machine.
There are two possible scenarios:
- The computer boots the USB drive automatically.
- You need to manually configure USB booting in the Boot Menu or BIOS/UEFI.
3. To manually configure the boot order, tap the boot menu key about once or twice per second as soon as the computer powers on.
The boot menu key may be different depending on your computer manufacturer. Below is a list of common boot keys associated to a brand:
| Asus | F8 or Esc |
| Acer | F12, F9 or Esc |
| Compaq | F9 or Esc |
| Dell | F12 |
| eMachines | F12 |
| Fujitsu | F12 |
| HP | F9 or Esc |
| Lenovo | F8, F10 or F12 |
| Samsung | F2, F12 or Esc |
| Toshiba | F12 |
4. Once you see your boot menu, use the arrows to pick the Ubuntu media to boot from. For a DVD, the entry will usually have DVD or Optical in the name. USB is usually labeled USB.
Your system should start loading the Ubuntu live disc menu.
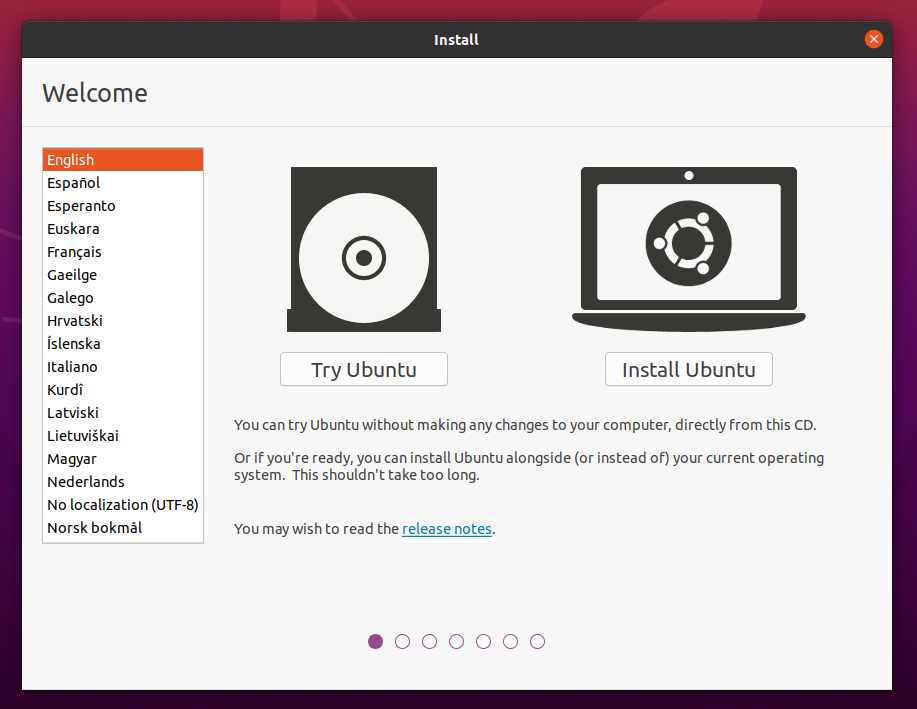
If you click Try Ubuntu, you can preview Ubuntu without making any changes to your PC. You can return to the installer menu at any time by clicking the Install Ubuntu shortcut on the desktop.
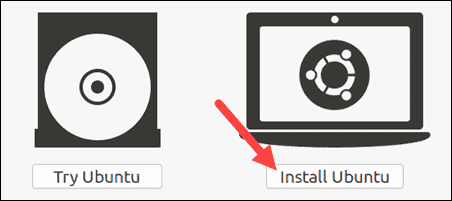
To proceed, click Install Ubuntu.
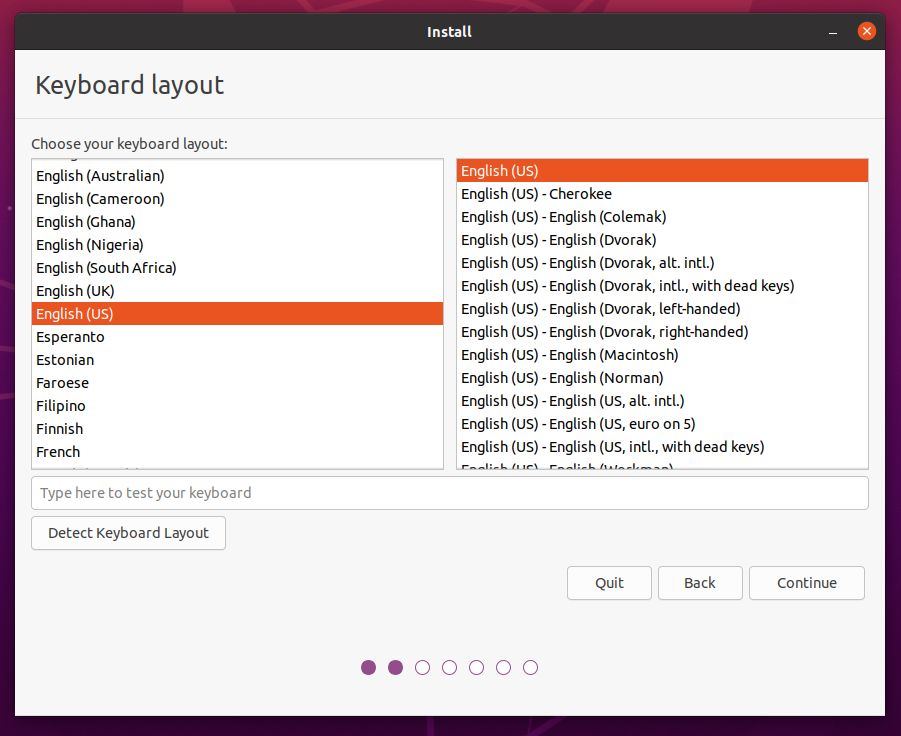
You will be asked to select your keyboard layout. Once you’ve chosen one, click Continue.
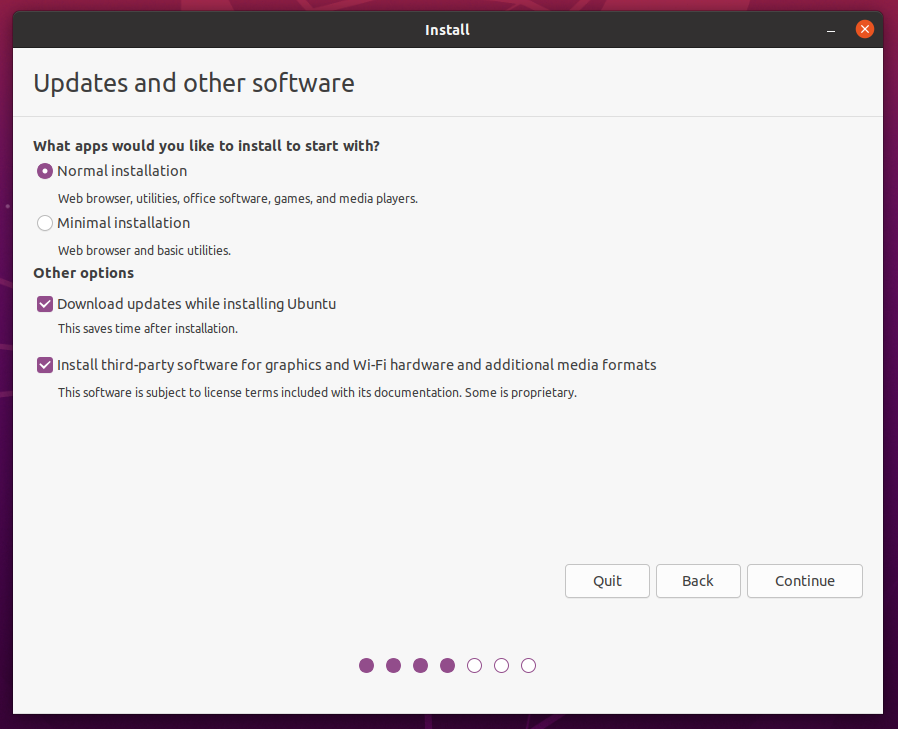
5. Installation Setup
- Normal Installation – This is the full Ubuntu Desktop experience, with office software, games, and media players.
- Minimal Installation – Choose this to save disk space, especially if you won’t be using media players or productivity software.
You’ll also be asked to confirm other options:
- Download updates while installing Ubuntu – This does the work of downloading large package files during the installation. Once the installation finishes, the packages will be ready to apply as updates.
- Install third-party software for graphics and Wi-Fi hardware and additional media formats – Some hardware, like graphics cards and wi-fi cards, do not have open-source driver support. Also, some media formats, such as .wmv, do not fall under the GPL license. If you need support for these, you’ll need to agree to additional terms of use.
6. Drive Management
This screen allows you to configure your installation. If you would like Ubuntu to be the only operating system on your device, select Erase disk and install Ubuntu.
If your device currently has another operating system installed, you will receive additional options to install Ubuntu alongside that OS rather than replacing it. This requires some additional steps not covered in this tutorial. However, you can read more about setting up dual-booting in here
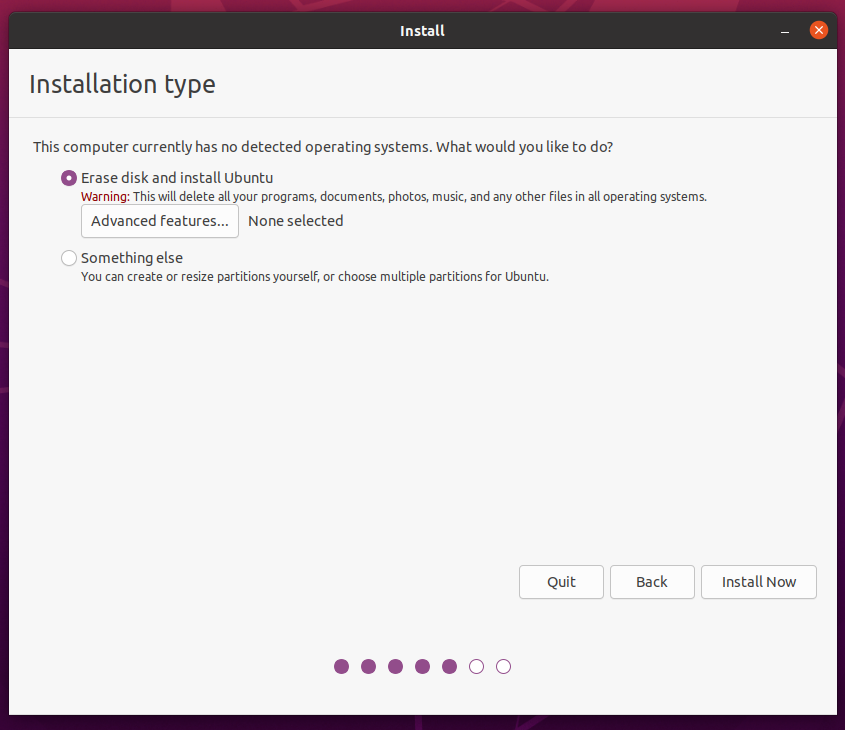
If you are happy to continue the installation without enabling encryption, click Install Now and confirm the changes with Continue. Otherwise keep reading.
7. (Optional) Enable Encryption
If you would like to encrypt your device, select Advanced features… > Use LVM with the new Ubuntu installation > Encrypt the new Ubuntu installation for security.
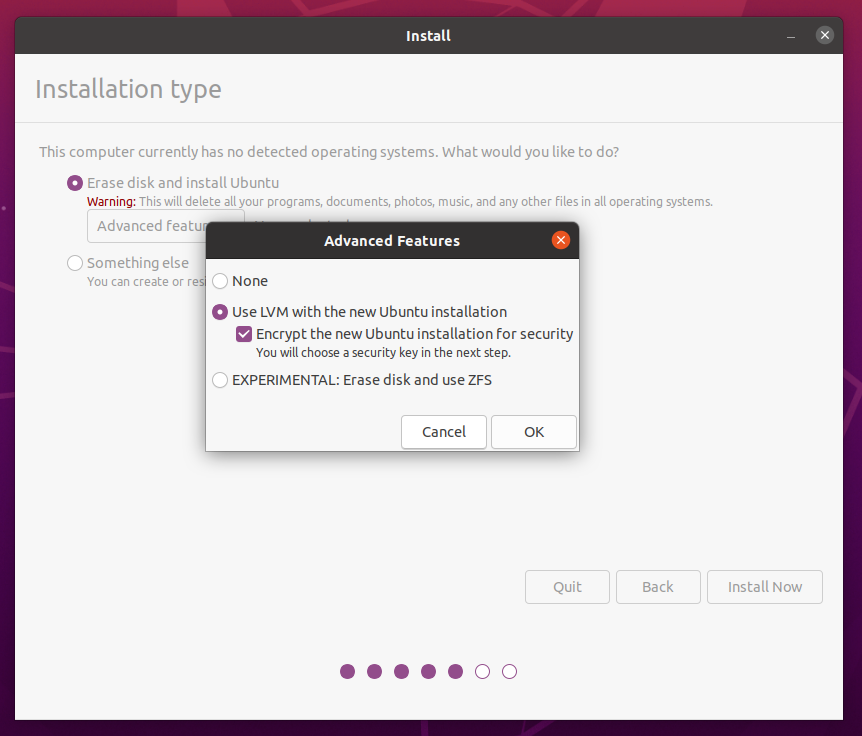
LVM stands for Logical Volume Management. By using LVM during the setup, it makes it easier to create and manage partitions post installation.
You will be prompted to create a security key once you click Install Now.
If you select encryption, it is important that you do not lose your security key! Write it down and store it in a safe place outside of your local system. You will not be able to recover your data without it!
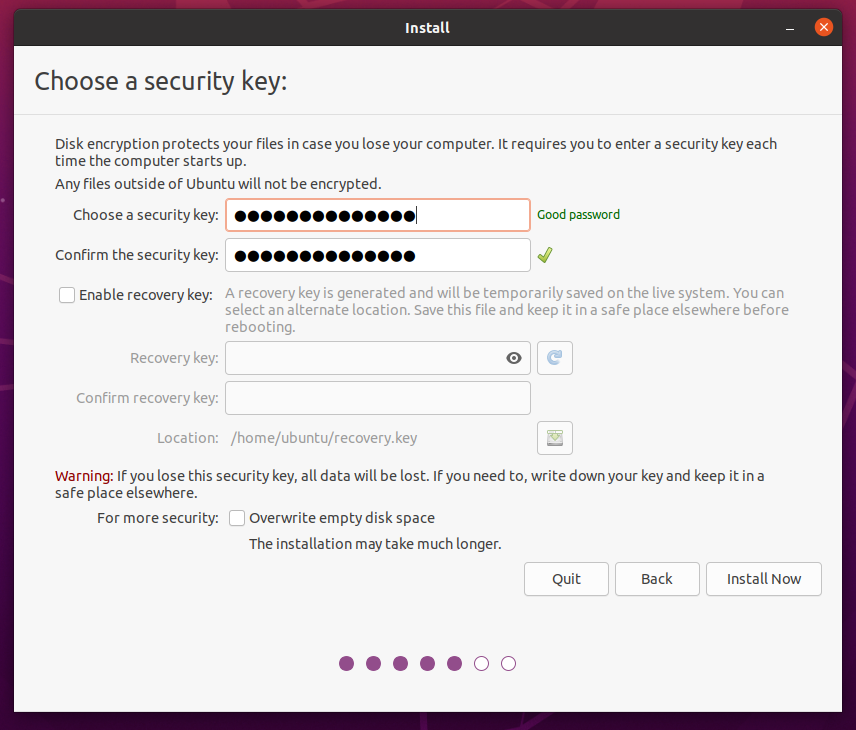
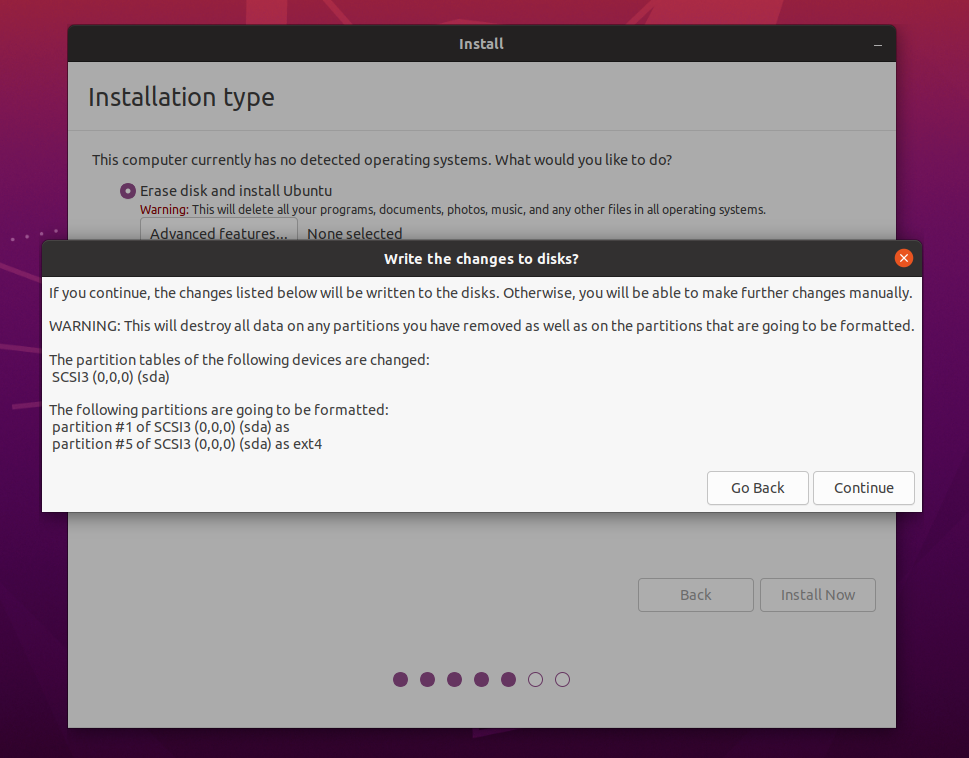
Click Install Now and confirm the changes with Continue.
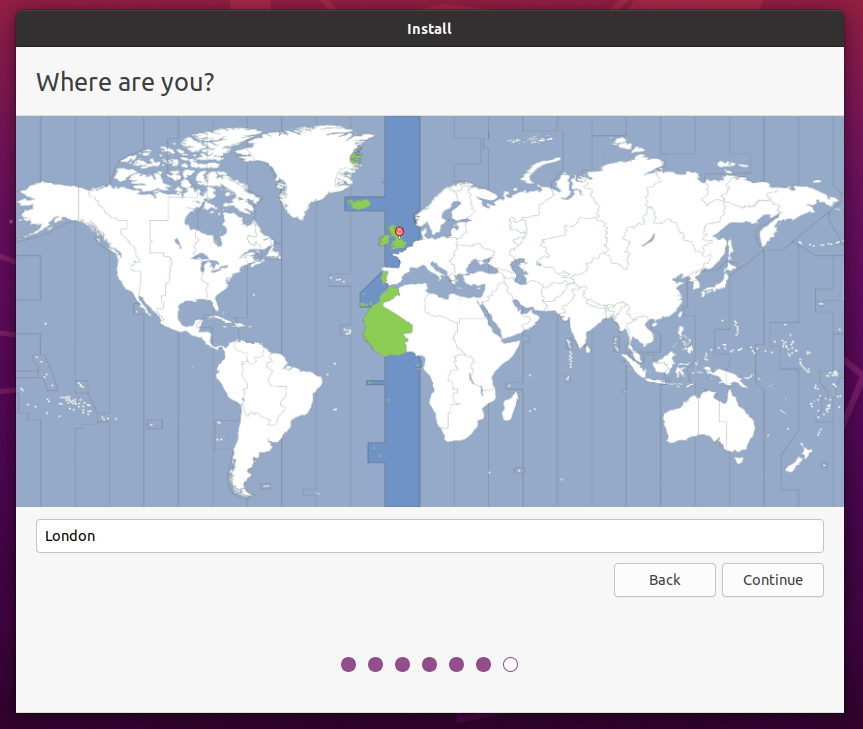
8. Choose your Location
Select your location and timezone from the map screen and click Continue. This information will be detected automatically if you are connected to the internet.
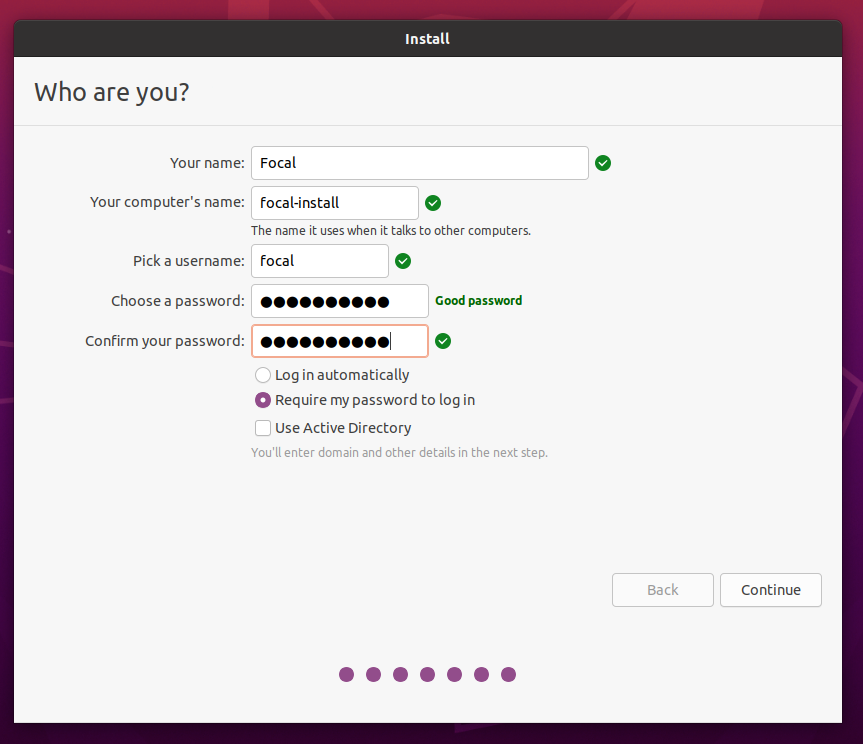
9. Create Your Login Details
On this screen, you will be prompted to enter your name and the name of your computer as it will appear on the network. Finally, you will create a username and a strong password.
You can choose to log in automatically or require a password. If you are using your device whilst travelling, it’s recommended to keep automatic login disabled.
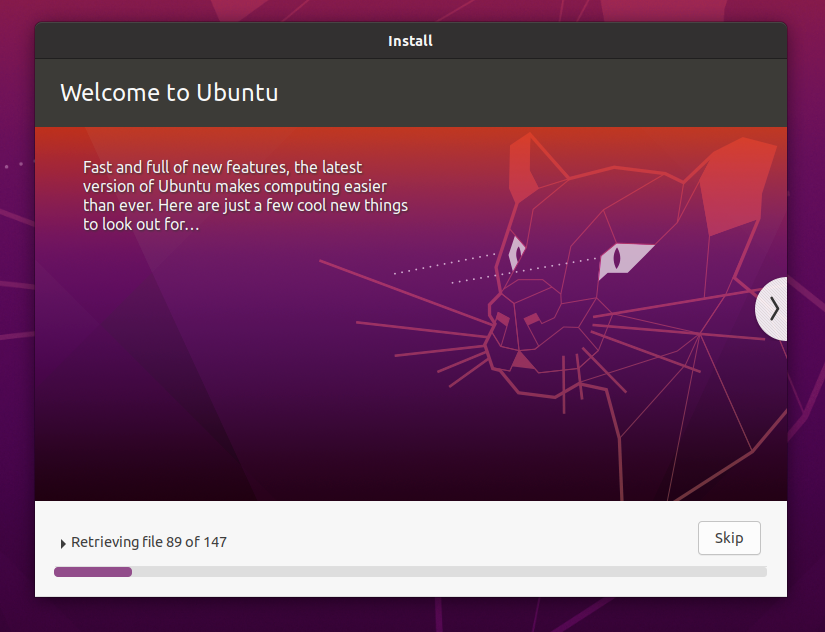
10. Complete the Installation
Now sit back and enjoy the slideshow as Ubuntu installs in the background!
Once the installation has completed, you will be prompted to restart your machine.
Click Restart Now.

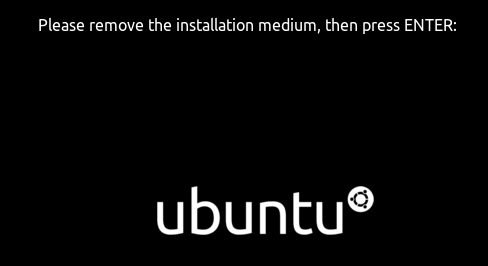
When you restart, you will be prompted to remove your USB flash drive from the device. Once you’ve done this, press ENTER.
Enter your password on the login screen (assuming you selected that option when creating your login details).
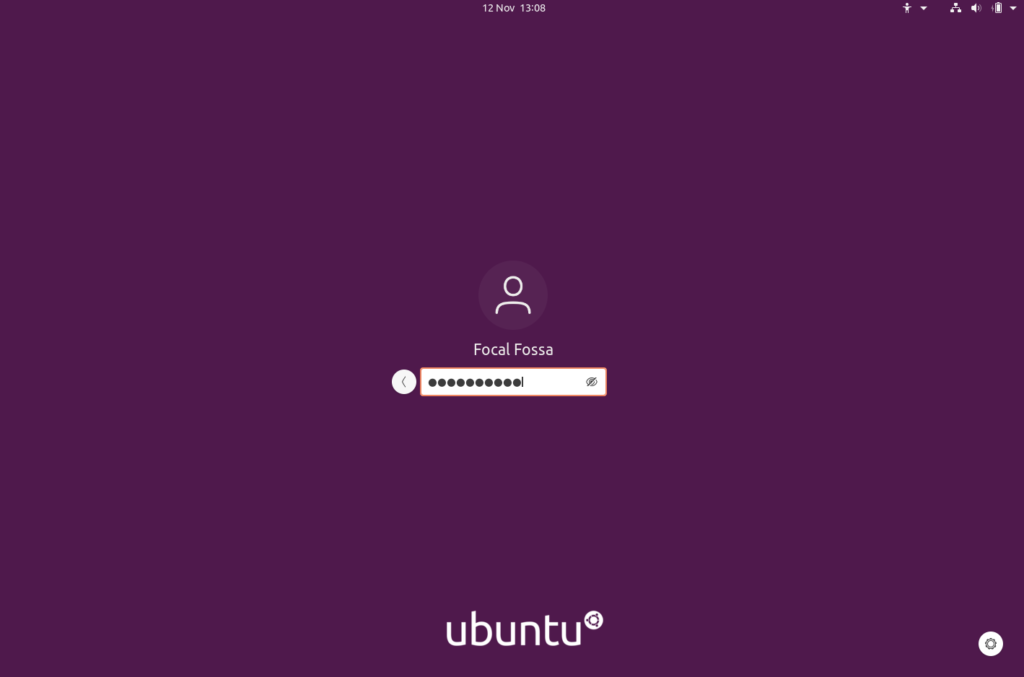
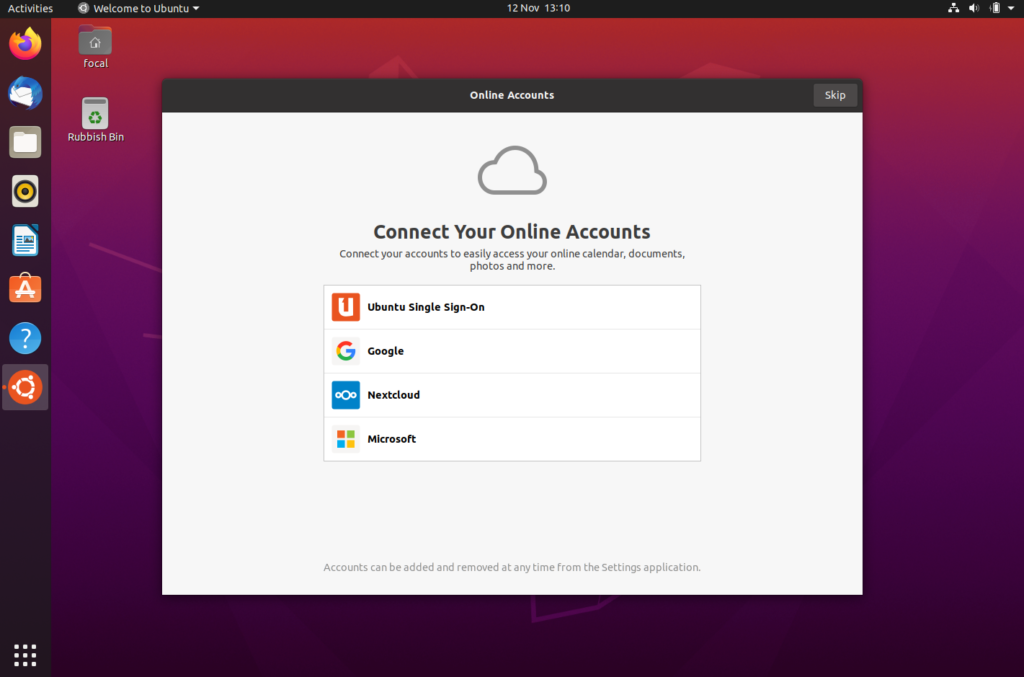
And that’s it, welcome to your new Ubuntu Desktop!